

Step-by-Step Tutorial: DIY Ombre Pine Cones From The Crafty Lumb…

Q&A with Organizational Pro Peter Walsh + Dermatologist Shares A…

Actor Hank Azaria + Freezer Meals + Artichokes 2 Ways with Rach

See Inside Barbara Corcoran's Stunning NY Apartment + It's Steak…
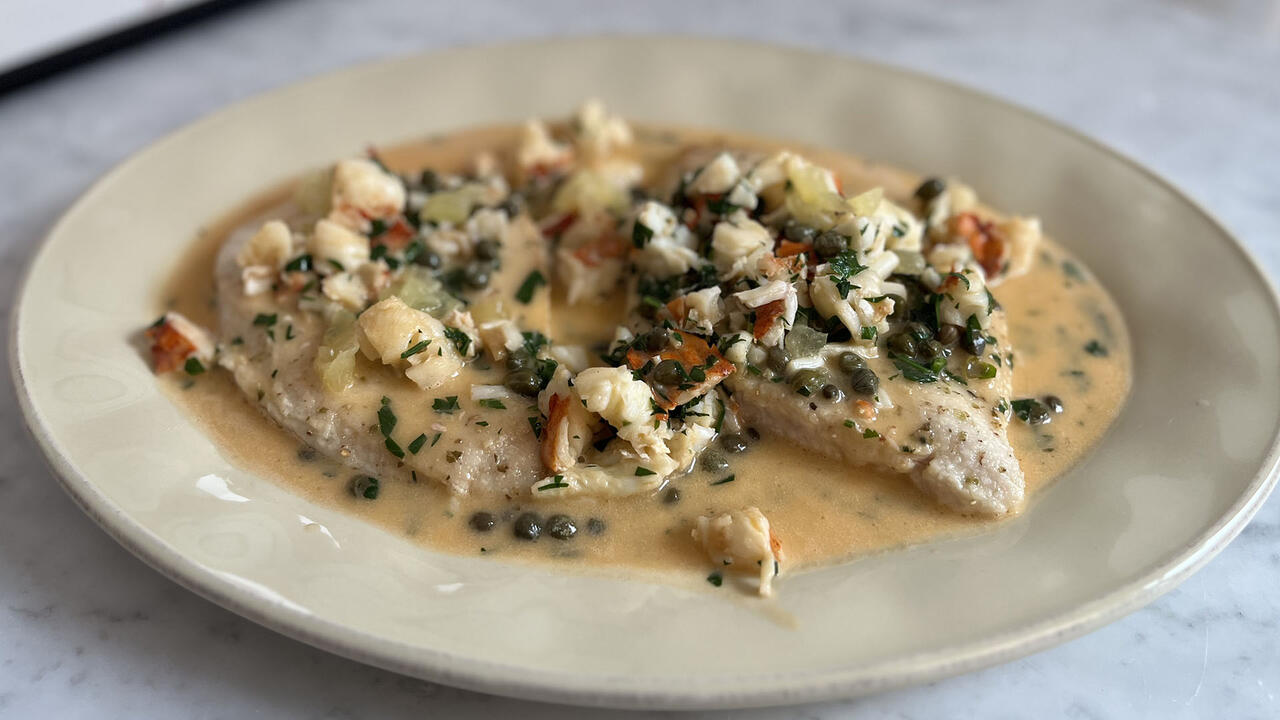
How to Make Chicken and Lobster Piccata | Richard Blais

Donnie Wahlberg Spills Details About NKOTB's First Ever Conventi…

Donnie Wahlberg + Jenny McCarthy Say Rach Is Such a "Joy" + Look…

The Best Moments From 17 Seasons of the Show Will Make You Laugh…

How to Make Crabby Carbonara | Rachael Ray
Rach Chats "Firsts" In Flashback From Our First Episode Ever In …
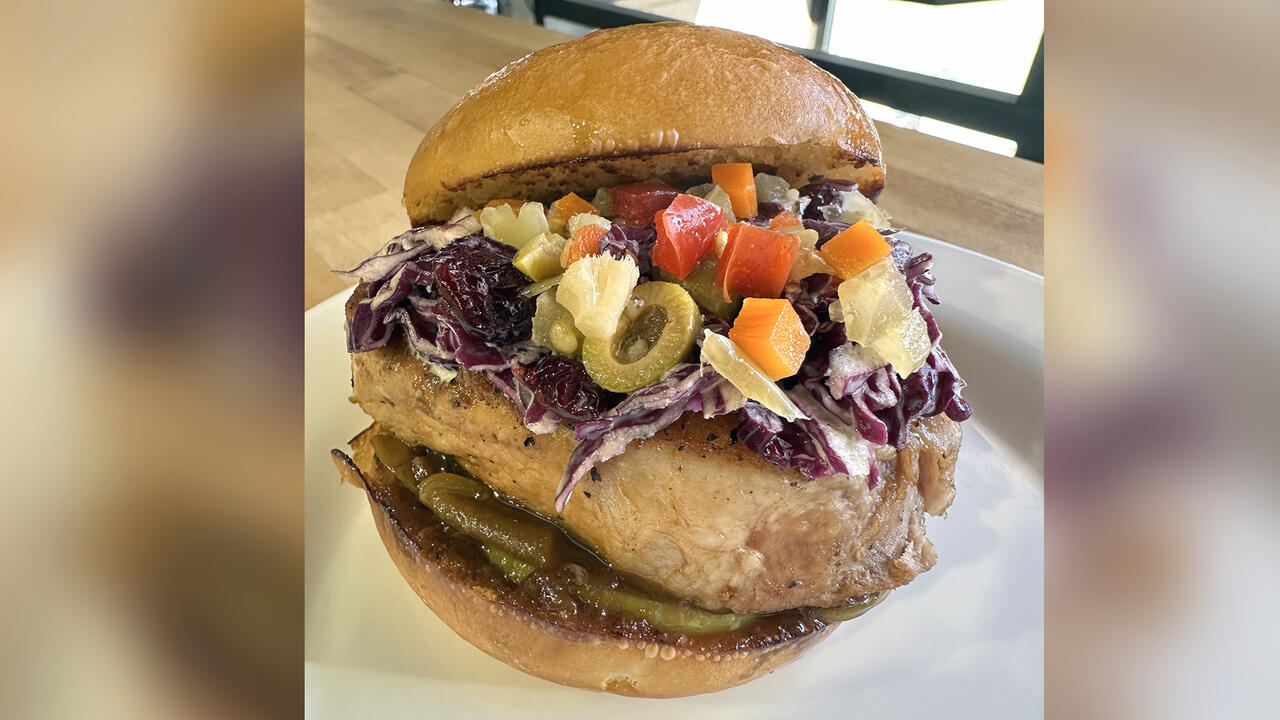
How to Make Apple-Cider Braised Pork Chop Sandwiches with Onion …

Rach's Chef Pals Say Goodbye to Show in Surprise Video Message

How to Make Sesame Cookies | Buddy Valastro

How to Make Tortilla with Potatoes, Piquillo Peppers and Mancheg…

How to Make Shrimp Burgers | Jacques Pepin
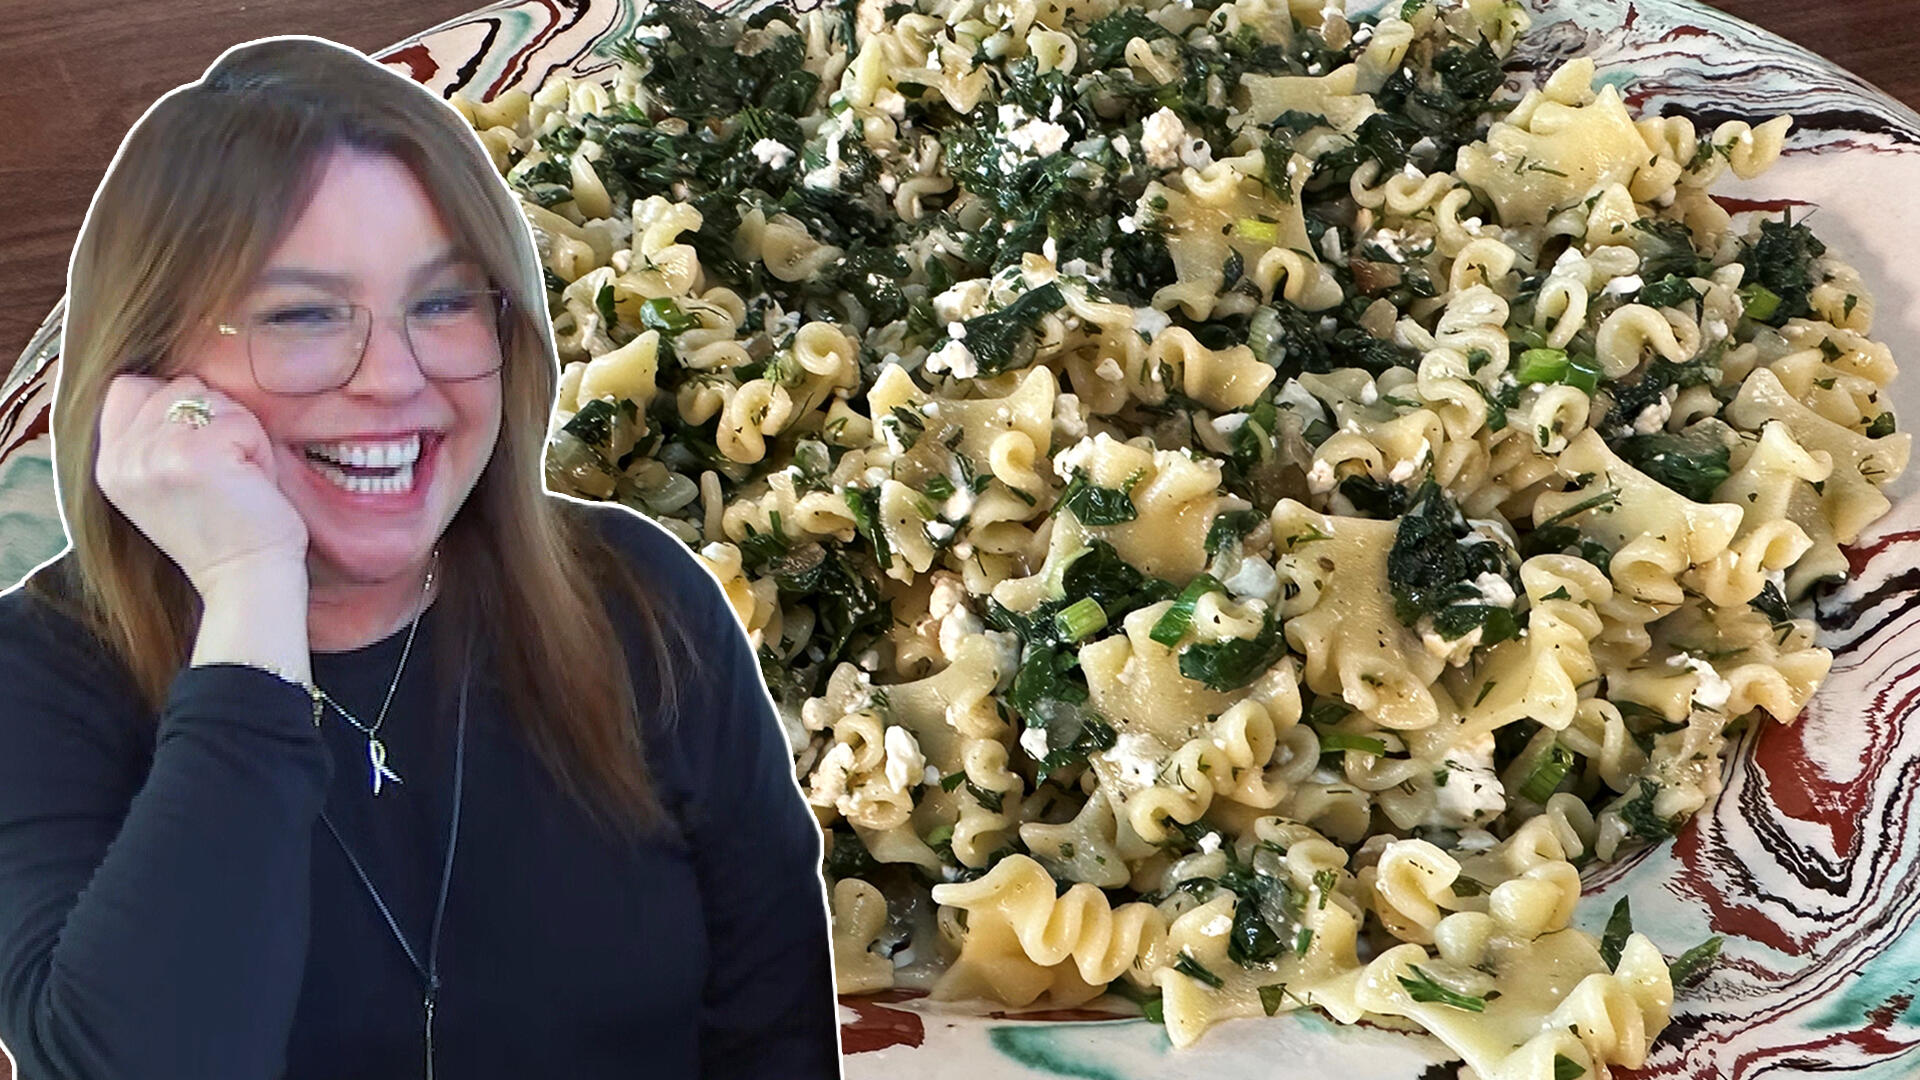
How to Make Spanakopipasta | Rachael Ray

Andrew McCarthy Chokes Up Discussing Emotional Trip to Spain wit…

Celebrity Guests Send Farewell Messages After 17 Seasons of the …

Celebrity Guests Send Farewell Messages After 17 Seasons of the …

Andrew McCarthy Teases Upcoming "Brat Pack" Reunion Special

Michelle Obama Toasts Rach's 17 Years on the Air With a Heartfel…
We’re willing to bet that your Thanksgiving menu is top of mind these days, but don’t neglect the all-important home decor.
Crafty Lumberjacks Dennis Setteducati and Andrew Boza have a creative way to turn the pine cones right outside your home into ombre pine cones. Sounds fancy, but the DIY craft is super-simple, kid-friendly and will give a festive touch to your Thanksgiving tablescape or mantle.
1. PRIME
Start off by adding a base coat of primer to you pine cones. This will give them a vibrant pop of color once the paint dries.
RELATED: 3 Easy Alternatives to Traditional Cranberry Sauce
2. PAINT
Pick one color for each pinecone. For the ombre effect, start with the darkest color and paint the base of the pinecone. As you paint higher, add white into your color palette and mix it in as you go up.
3. PLATE
Arrange the dried pine cones on a platter to decorate your tablescape.
Bonus tip: You can turn your ombre pine cones into an ornament and use them as take-home gifts for guests.